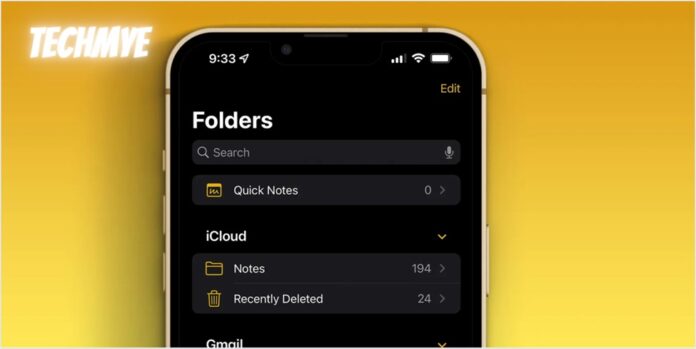
While iPhone users flaunt their sleek devices like prized trophies, there’s a little secret lurking in the digital shadows: Apple Notes, the unsung hero of note-taking apps. It’s like the hidden gem in a treasure chest of iPhones, yet sadly, many users overlook its brilliance. Instead, they gallivant off to the land of Google Keep or Google Docs, or worse, some distant third-party app territory. Why? Because, my friend, they’re blissfully unaware of the sheer awesomeness that lies within Apple Notes.

It’s time to peel back the curtain on this and unleash the potential of Apple’s note-taking masterpiece, Apple Notes! Here’s top 3 tricks you never used:
1. Locking Your Notes for Enhanced Privacy
Privacy is paramount, especially when it comes to personal or sensitive information. Apple Notes offers a simple yet effective way to safeguard your data by allowing you to lock individual notes with a password or Face ID.
Step 1: Open the note you wish to lock.
Step 2: Tap the share icon (box with an arrow) located at the top-right corner.
Step 3: Select “Lock Note” from the menu.
Step 4: Set a password or enable Face ID for authentication.
Step 5: Your note is now securely locked, and only you can access its contents.
2. Power of Tags for Efficient Organization
Tags are a versatile tool that can streamline your note-taking process and make retrieval a breeze. Adding tags to your notes allows for intuitive categorization and swift searching, even across a vast collection of notes.
Step 1: Open the note you want to tag in Apple Notes.
Step 2: Type “#” followed by the tag name you want to add, or choose a tag from the suggestions that appear above the keyboard.
Step 3: The text will change color to indicate that the tag has been added to the note.
Step 4: If you’re using an Apple Pencil on an iPad, you can also add tags to drawings by sketching “#” followed by the tag name within the note.
Step 5: Tags should be one continuous word, but you can include hyphens, numbers, and underscores to make longer tag names.
Step 6: You can add multiple tags to a single note by repeating steps 2-4 for each tag you want to include.
3. Creating Quick Notes from Control Center
Seize the moment with Quick Notes, a feature that lets you jot down ideas or reminders without interrupting your workflow. Accessible from anywhere on your device, Quick Notes empower you to capture fleeting thoughts in an instant.
Step 1: Swipe down from the top-right corner of your screen to open Control Center.
Step 2: Tap the Apple Pencil icon or use your finger to start a Quick Note.
Step 3: Write or type your note.
Step 4: Tap “Done” to save the Quick Note to Apple Notes.
Step 5: Your note is now seamlessly integrated into your collection for future reference.
In conclusion, Apple Notes is more than just a digital notepad; it’s a versatile tool that can elevate your productivity and organization. By unlocking these hidden tricks, you’ll discover a newfound appreciation for this underrated app. So, why wait? Dive into Apple Notes today and unleash your creativity and efficiency like never before.


